One-click Calculation Groups for your toolbelt

Hello there, today I don’t have any new fancy use case for calculation groups or anything else, but rather a repository of links to the best of the best c# scripts… to create calculation groups. The main use of this post is to point people this way when I do a presentation on calculation groups, for example. Since they are «one-click» means you can just store it as Macro/Quick Action and even put it in a custom toolbar if you are using Tabular Editor 3 (which you should!). I’ll just start with two, but I plan adding more over time.
Dynamic Measure Calculation Group
This is a great calculation group script that Johnny Winter (aka Greyskull Analytics) put together a while back, and that opened the world c# scripts to me. Selecting several measures and then running the script will generate the calculation group for you. Make sure you have proper format strings for your measures before running the scripts, as these will become hard-coded in the format string expressions.
- Youtube Link
- Github Link
- Github Link (new version) <– Update 2022-05-14: this calc group has 3 dummy measures for complex use cases, and calc items can be updated/added rerunning the script
Time Intelligence Calculation Group
This is the first calculation group script I made right after I discovered the one from Johnny Winter, rushing before anyone did it — it had to be done! DAXpatterns.com + Calculation Groups?? it’s a no-brainer! The script has evolved over time and new it will ask you about your model to create a measure and a calculated column and a measure in your calendar table to follow DAXpatterns.com definitions. It also avoids lateral recursion, just in case. To run this script you will need unsupported actions enabled (see next item below)
Select one or more measures and then run the script. During the process it will ask for the name of the calculation group, its column etc.
Activating unsupported actions in Tabular Editor
It sounds scary, and well there are probably good reasons why they are unsupported at this time. That said, I have never broken any pbix by creating a new calculated table with a script. Changing column attributes is so-so, and I did once break a pbix by changing the expression of a calculated table, so save your work and proceed with caution. As I just mentioned, I have not found any issues with the time intelligence calc group and the calculated table it creates, but as usual, no warranty.
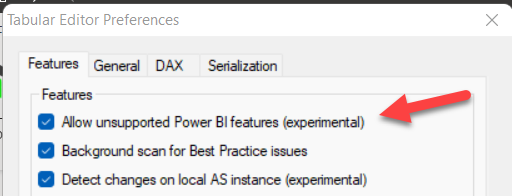
To enable the unsupported actions:
(TE3) Tools –> Preferences –> «Allow unsupported modeling operations (not recommended)»

(TE2) File –> Preferences –> «Allow unsupported Power BI features (experimental)»
Storing scripts as custom actions in Tabular Editor 2
Yes, one-click macros seem to be something only available to TE3 but actually they work just as fine in Tabular Editor 2. Here I use the script of Dynamic measure explained above to show how it’s done. It’s the exact same process for all scripts. The only thing that may change is the elements for which the custom action should be available. If it runs on selected measures (as in this case) just select measure. That will be the case most of the times.
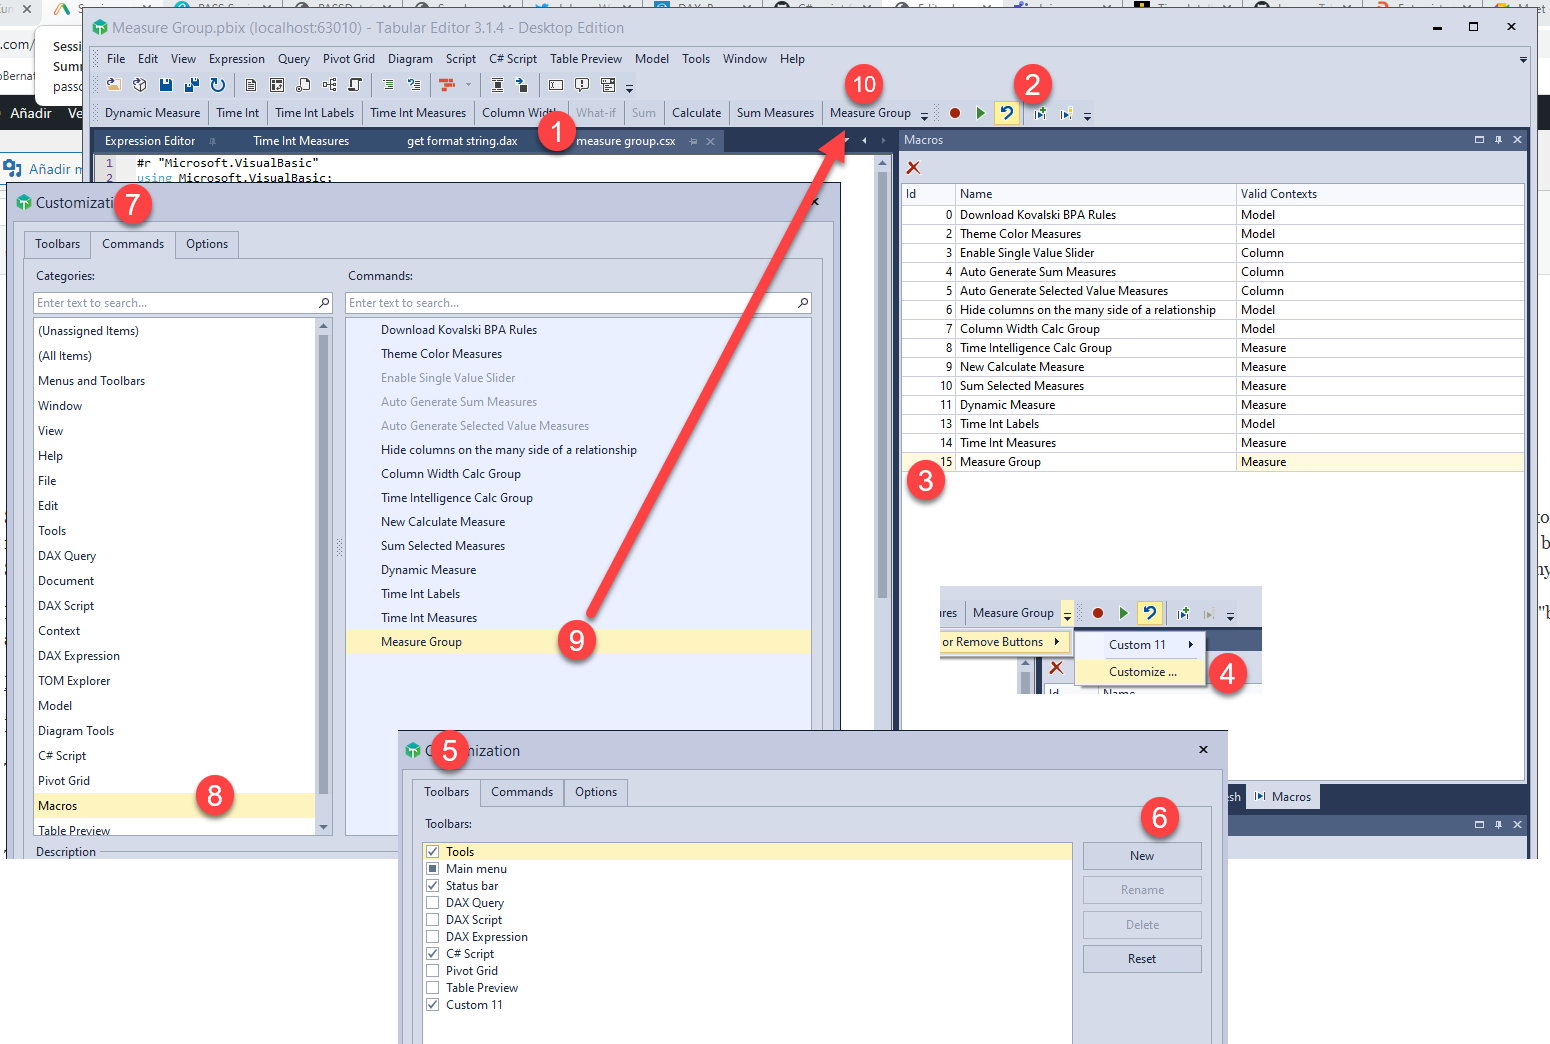
Creating a macro toolbar (TE3 only)
So tabular editor 3 is cool and all, but how do you actually set up a custom toolbar with your favorit macros? Here we’ll walk the walk and set up the Time intelligence Calculation Group script first as a macro and then as a button in a custom toolbar!
Here I just copy-pasted the steps from this other post of mine, after that, a video
- have the script in a c# script tab
- Click on «Save as macro..» (the arrow with the + sign)
- You give it a name and it will appear on your macro list
- Go to any toolbar, click on the little arrow and click «customize»
- Click on Toolbars
- Click on New to create new toolbar to put your macros (first time only)
- Click on Commands
- Click on Macros
- Drag and drop the macro you want to place on the toolbar
- The macro will show in your toolbar (right clicking on the button will allow you to change the name or begin a new group, which separates things a bit <- highly recommended)
- You can store the layout going to Window –> Capture current layout (not in the image, this is new I think)
Here the video version from the code grab, to the macro, to the toolbar: